Free Pickup Point Delivery from €50
Find out what's new here
 

PPMC pour vous servir !

02 97 59 14 23

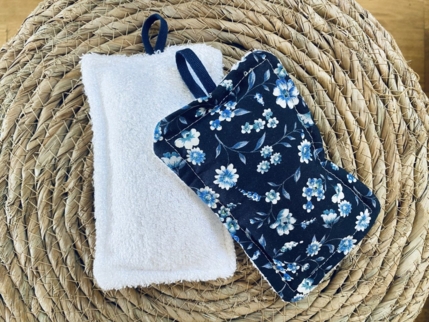
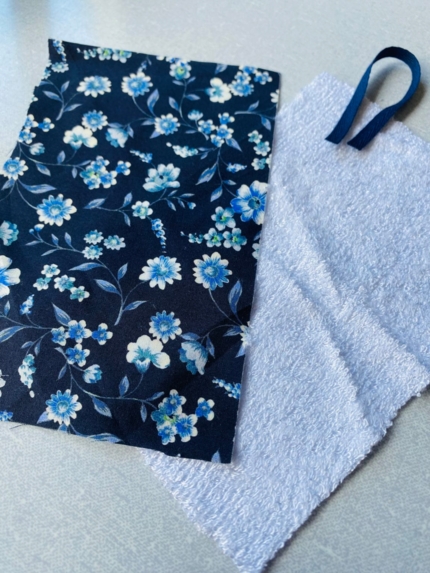
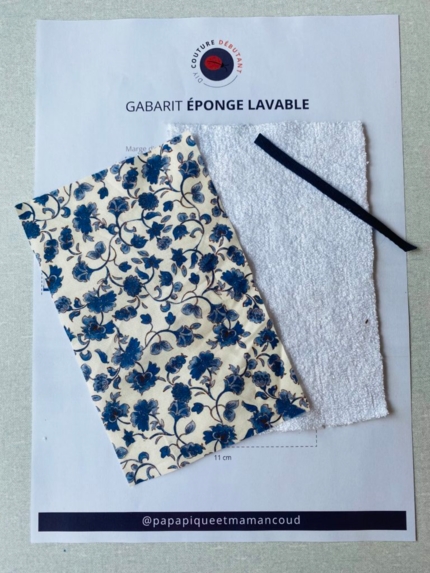
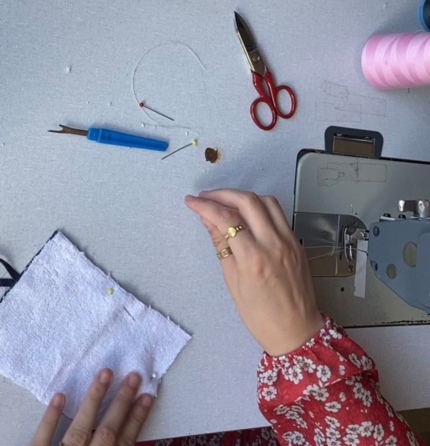
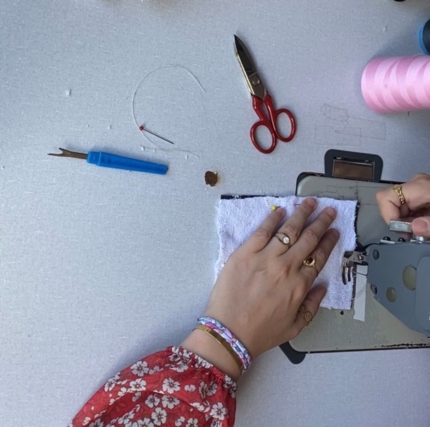
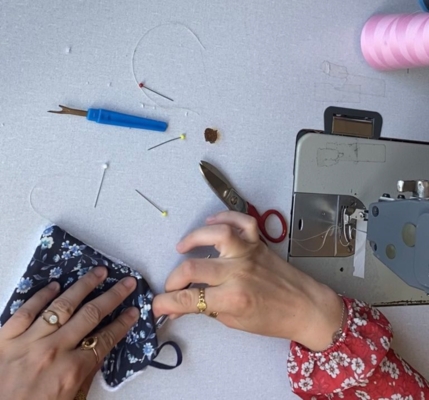
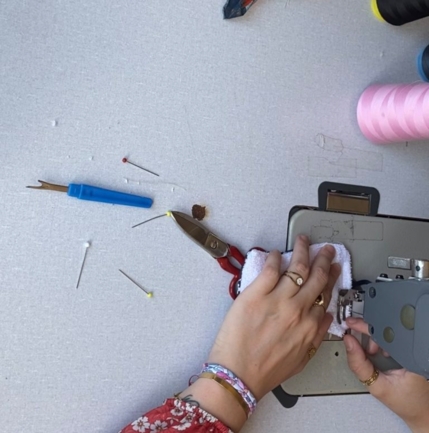
DIY: Beginner Sewing Tutorial – How to Make a Washable Sponge

Are you new to sewing? Looking for a beginner-friendly zero-waste project?

You're in the right place! At Papa Pique et Maman Coud, we love repurposing fabric scraps and giving a second life to our materials. Today, we’re sharing a simple and eco-friendly sewing tutorial to help you make your own washable sponge!

Why switch to a reusable sponge?

A washable sponge is a great eco-friendly alternative to disposable ones. Not only does it help reduce waste, it also saves money in the long run.

Conventional sponges are full of plastic, not recyclable, and can be breeding grounds for bacteria. Our DIY sponge is soft, durable, and made with fabric scraps—good for the planet and your health!

Depending on what you want to use it for, you can adjust the fabric:

  • For scrubbing tough stains, choose burlap (jute fabric).

  • For a soft cleaning sponge, use terry cloth or soft cotton.

At PPMC, we never throw away fabric scraps they are reused to create small accessories like hair clips or donated to local charities.

Supplies You’ll Need

  • The sponge pattern

  • Scissors

  • Pins

  • A ruler

  • An erasable fabric pen

  • Matching thread

  • Two pieces of fabric (15 x 9 cm)

  • A 10 cm ribbon

  • Fabric scraps for stuffing

Step-by-Step Tutorial: How to Sew a Washable Sponge

Step 1: Cutting the fabric

Cut two rectangles measuring 17 x 11 cm (you can adjust the size if needed).
Sew the ribbon loop on the wrong side of one fabric piece. Fold the end of the ribbon to make it sturdier.

Step 2: Preparing the layers

Place the two fabric pieces right sides together and pin them in place.

Step 3: Sewing the sponge

Sew around the edges with a 1 cm seam allowance but leave a 4 cm opening on one side to turn the fabric right side out later.

Step 4: Turning inside out

Clip the corners of your sponge (this helps create clean, sharp corners).
Turn the sponge right side out and push out the corners using a pencil or blunt object.

Step 5: Stuffing

Stuff the sponge using your fabric scraps through the opening. Add just enough to give it volume without overfilling.

Step 6: Finishing

Topstitch all around the sponge, 1 cm from the edge, to close the opening and reinforce the structure.

That’s it! You’ve made your own washable sponge eco-friendly and handmade!

How to Wash Your Reusable Sponge

To keep your sponge fresh and hygienic, wash it regularly, especially with daily use.

  • Machine wash at 30°C or 40°C

  • Hand wash daily with dish soap or Marseille soap

  • Need to remove odors? Soak it in hot water + baking soda + white vinegar

Lost some brightness? Add sodium percarbonate to your laundry  it works wonders!

Ready to Create More Zero-Waste Projects?

This beginner-friendly sewing tutorial is now complete!
If you enjoyed it, leave us a comment and share your creations on Instagram @papapiqueetmamancoud using the hashtag #ppmccouture.

Got your own zero-waste DIY ideas? We’d love to see them – message us on Instagram, and we might turn your idea into our next beginner tutorial!