


DIY: Christmas Sack Sewing Tutorial
Are you new to sewing? Want to wrap your gifts in a unique and creative way?
Papa Pique et Maman Coud has the perfect easy sewing tutorial for you: a lovely handmade Christmas sack.
Free delivery and returns in store
Pay in 3 interest-free installments with Alma
PPMC at your service!
02 97 59 14 23Are you new to sewing? Want to wrap your gifts in a unique and creative way?
Papa Pique et Maman Coud has the perfect easy sewing tutorial for you: a lovely handmade Christmas sack.
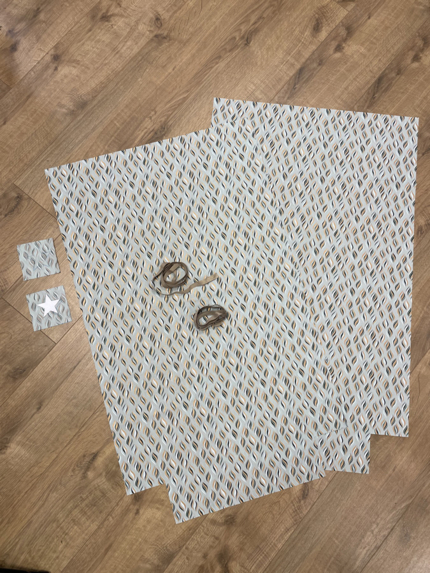
Cut out the two fabric pieces, making sure to transfer all the pattern markings.
Keep the square scraps from the bottom cut-out.
Overlock (or zigzag stitch) all edges and the bottom except the top.
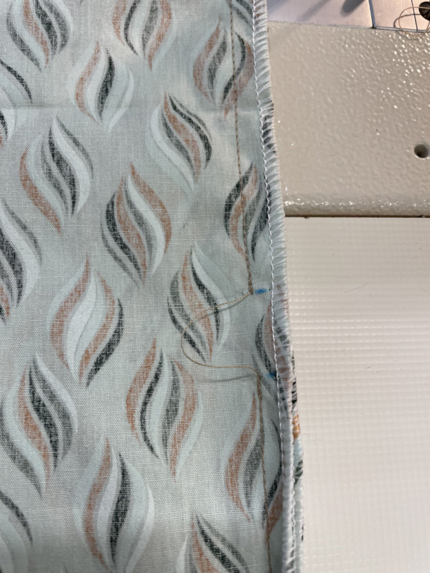
Place the two pieces right sides together and sew the sides, leaving a gap between the two notches. Don’t forget to backstitch!
Sew the bottom edge (excluding the square cut-outs). Press seams open.
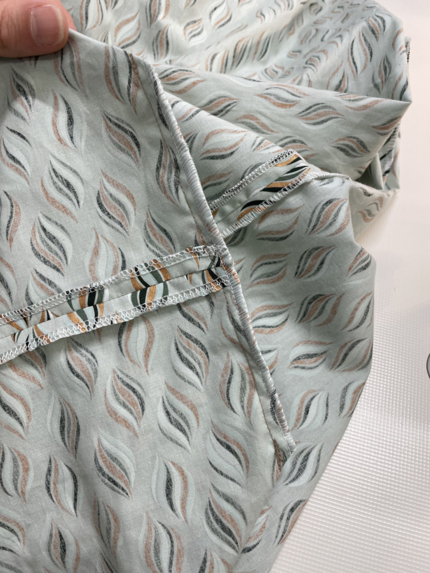
To shape the base, fold the corners by aligning the bottom seam with the side seam.
Sew 1 cm from the edge, then overlock.

At the top of the sack, press a first fold of 1 cm, then a second fold of 7 cm.
Topstitch 2 mm from the edge of the second fold, then make a second seam 2 cm below the first to create the drawstring casing.
The side openings should fall between these two seams.
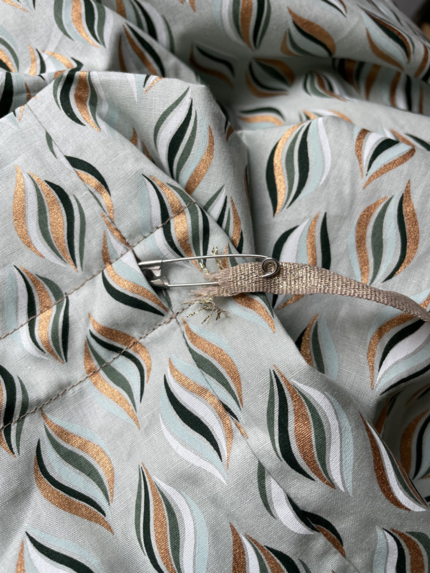
Using a safety pin, thread the ribbons through the side openings.
One ribbon goes in and out through the left opening, the other through the right.
Each ribbon should make a full loop around the sack in opposite directions.
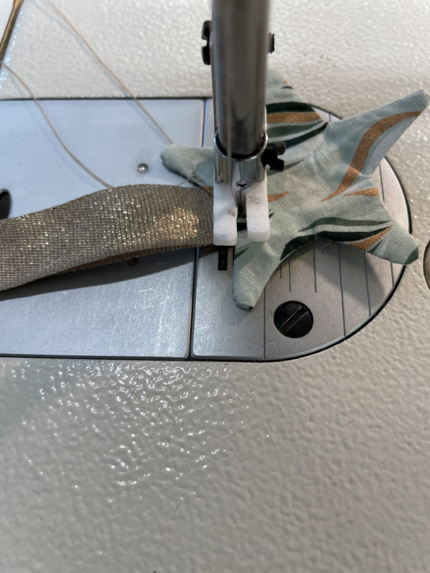
Place the two square scraps right sides together and trace the star shape.
Sew all around the edge except between the two notches.If you enjoyed this tutorial, leave us a comment and don’t forget to share your creations on Instagram @papapiqueetmamancoud using the hashtag #ppmccouture.
Got ideas for Christmas sewing projects? Share them with us on Instagram we’ll prepare new beginner-friendly tutorials just for you!
Are you sure you want to perform this action?