Free Pickup Point Delivery from €50
Find out what's new here
 

PPMC pour vous servir !

02 97 59 14 23

DIY Sewing Tutorial: How to Make a Bowling Bag

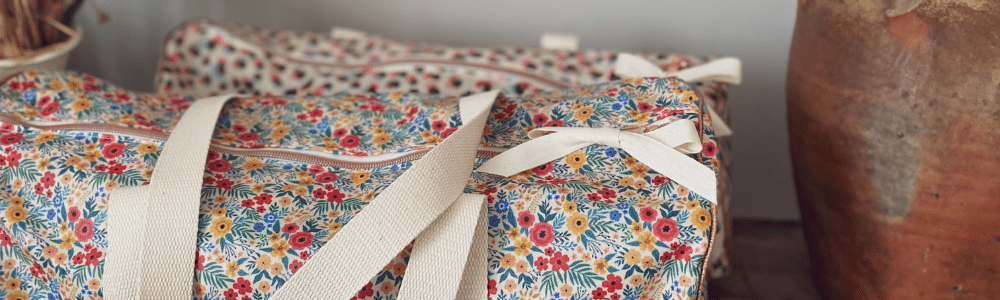
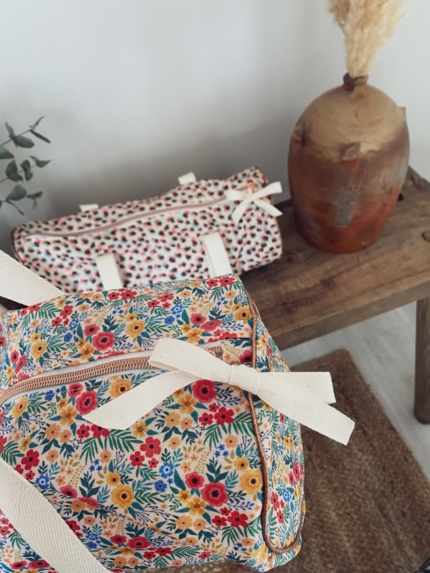
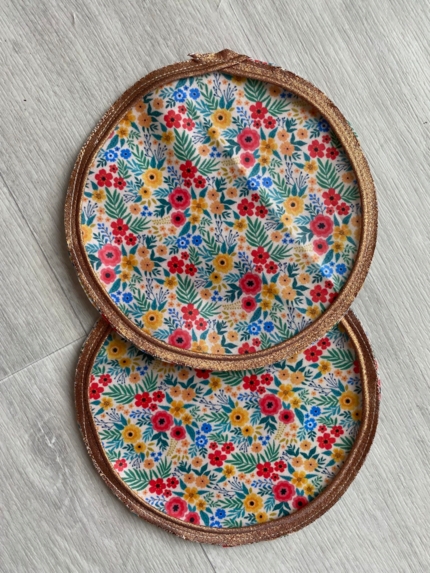
Want to sew your own stylish bowling bag? With the help of the talented Caroline from @petits_mots_bleus, we’re bringing you a detailed tutorial for a coated cotton bowling-style bag, perfect for showcasing your favorite PPMC fabrics.

You’ll find two levels of difficulty in this tutorial: beginner and intermediate so you can choose what suits you best!

Designed by: Caroline from @petits_mots_bleus

What You'll Need


Beginner Level:

  • 50 x 75 cm of coated fabric

  • 2 m of webbing/strap

  • 1 zipper (45 cm)

Intermediate Level – Additional Materials:

  • 2.1 m of bias tape

  • 2.1 m of piping cord

For all levels:

  • A sewing machine

  • Sewing needles

  • Matching thread

  • Scissors

Step-by-Step Instructions

Step 1: Cut Your Fabric

  • Cut one rectangle: 58 x 47 cm

  • Cut two circles: 17.8 cm diameter

  • Cut four pieces: 3 x 4 cm (to finish the zip ends)

Step 2: Prepare the Strap

Sew each end of the strap with a 1 cm seam allowance.


Step 3: Attach the Zipper Ends

  • Place the 3 x 4 cm fabric pieces right sides together on each end of the zipper.

  • Sew and flip the fabric over the ends to encase them.

Step 4: Sew the Strap to the Fabric

  • Pin the strap to the large rectangle as shown in the diagram.

  • Keep the strap seam centered, and space both sides equally.

  • Topstitch 2 mm from the edge on both sides.

Step 5: Sew the Zipper

  • Place the zipper right sides together with the fabric along the 47 cm sides and sew.

  • Repeat for the other side.

Pro Tip: When you reach the zipper pull, leave the needle down, lift the presser foot, move the pull past the needle, and continue sewing.


Step 6: Attach the Bias Tape (Intermediate)

  • Stitch the bias tape along the seam between the zipper and the fabric.

  • Fold it over and topstitch 5 mm from the edge.

Beginner alternative: Use a zigzag stitch to finish the edge instead of bias tape.

Step 7: Repeat Bias Tape on the Other Side

Follow the same process as in Step 6 for the other side of the zipper.

Step 8: Adjust the Zipper Alignment

  • Turn the bag right side out.

  • Use a pin to adjust the zipper/fabric alignment for a clean finish.

  • Topstitch along the zipper seam.

Step 9: Add Piping (Intermediate)

  • Optional: Add piping along the edges of the circular side panels.


Step 10: Attach the Side Panels

  • Pin the circles to each end of the bag.

  • Mark the half and quarter points to distribute the fabric evenly.

Step 11: Baste the Side Panels

  • Baste (temporary hand-stitch) the circles to the bag before machine sewing.

  • This helps hold everything securely while stitching.

Step 12: Sew the Circular Ends

  • Machine stitch the circles with a 1 cm seam allowance.

  • If using piping, sew closely along the edge of the piping.

  • Remove the basting thread afterward.

Step 13: Finish the Seams

  • Intermediate version: Apply bias tape around the inner circle seams like before. Fold over and topstitch at 5 mm.

  • Beginner version: Use a zigzag stitch around the edge instead.

Done!

You’ve now made your very own bowling bag using coated fabric and pro-looking finishes. Show it off or gift it either way, it’s a handmade win!

Want to make a matching shoe bag? Caroline has also created a tutorial for a fabric sports shoe bag using the same prints perfect to complete your handmade travel set.
 

Discover all our coated cotton and cotton fabrics on Papa Pique et Maman Coud’s website to create your next sewing project.

Don’t forget to tag us on Instagram @papapiqueetmamancoud and @petits_mots_bleus with #ppmccouture if you try this tutorial!