Free Pickup Point Delivery from €50
Find out what's new here
 

PPMC pour vous servir !

02 97 59 14 23

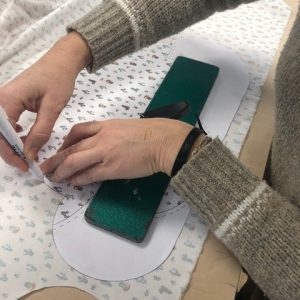
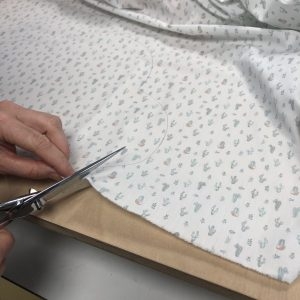
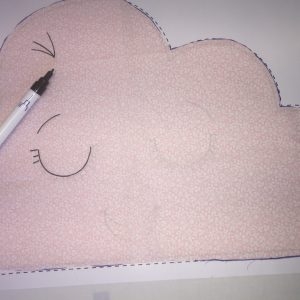
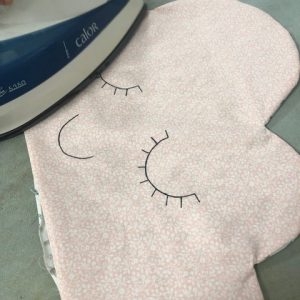
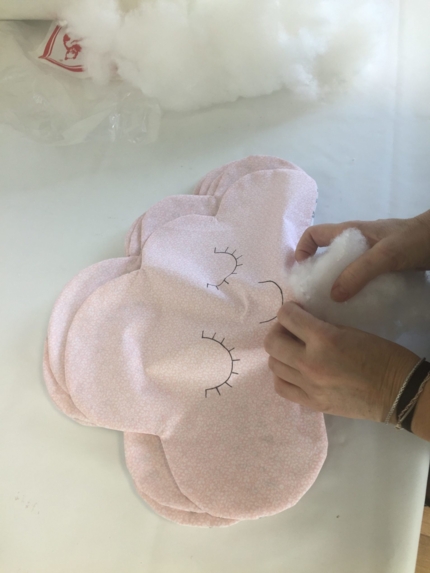
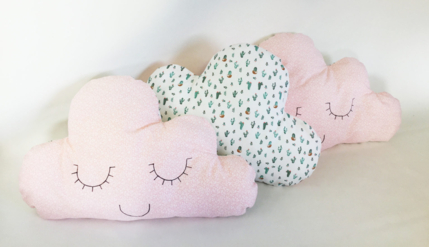
DIY Sewing Tutorial: How to Make a Cloud-Shaped Cushion

At Papa Pique et Maman Coud, we never run out of creative sewing ideas! This time, we’re showing you how to make an adorable cloud-shaped cushion — perfect for daydreaming or decorating a child’s room. The project is simple, with just a few small details to pay attention to. We'll guide you through everything step by step.

Don’t forget to check out our fabric by the meter and fabric remnants for the perfect materials.

Difficulty: ★★★☆☆ (3.5/5)

Step 1: Download the Cloud Pattern

This one’s easy! Just download the cloud-shaped cushion pattern and print it out in A3 format.

Click here to download the pattern

Step 2: Transfer the Pattern

Trace the pattern onto your fabric.

Tip: If you're using two different fabrics (one for each side), remember to flip the pattern for one side, or you’ll end up with the right side of the fabric hidden inside the cushion (true story!).

Also, make sure to check the direction of any fabric prints or motifs before cutting.

Step 3: Cut the Fabric

Cut along the dotted lines of the pattern, making sure to keep the seam allowance.

Step 4: Draw the Face

Draw your cloud’s face before sewing.

You can trace it through the fabric if it's thin enough, or sketch it freehand with fabric pens or embroidery.

Step 5: Sew the Cushion

Place your two fabric pieces right sides together. (If you forgot to flip the pattern earlier, you’ll notice it now... oops!)

Sew around the edges with a 0.5 cm seam allowance, but leave a 10 cm opening at the bottom to insert the stuffing later.

Step 6: Turn and Press

Before turning your cushion right side out:

  • Clip the curves using small notches about 2–3 cm before and after each point.

  • Make sure not to cut into your seam! Cut 1–2 mm away from the stitching.

  • Use small, sharp scissors for precision.

These notches will help your cloud shape look smooth and rounded.

Then, turn the cushion right side out and press gently with an iron to flatten the seams.

Step 7: Stuff the Cushion

Fill the cloud with polyfill stuffing (or fabric scraps if you prefer). It should look nice and plump!

Sew the opening closed by machine using thread in a matching color for an invisible finish.

Final Touches

To add a fun and playful detail, you can sew or glue a little barrette onto your cloud’s “hair” using a hot glue gun or a few stitches.

Your Handmade Cloud Cushion is Ready!

Perfect as a homemade gift, nursery decoration, or simply to bring a little softness into your home.

We’d love to see your creations! Share them with us on Instagram or Facebook using the hashtag #papapiqueetmamancoud.

Looking for more sewing ideas?
Try our tutorials for fabric napkins, bunting garlands, or April Fools’ fish — all beginner-friendly and full of joy!