Free Pickup Point Delivery from €50
Find out what's new here
 

PPMC at your service!

02 97 59 14 23

DIY Sewing Tutorial: How to Make a Removable Cushion Cover

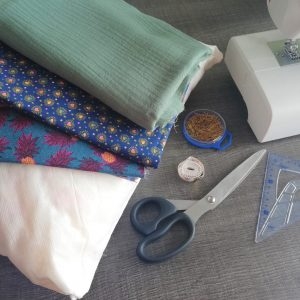
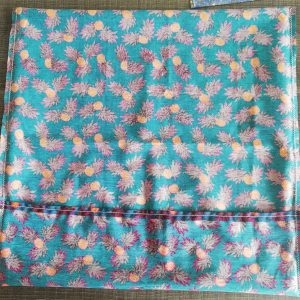
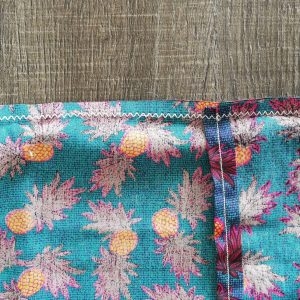
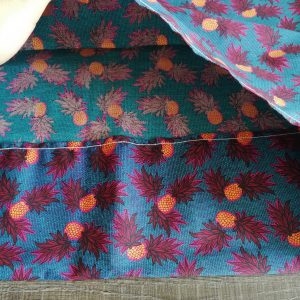
Want to bring a splash of color into your home decor? Papa Pique et Maman Coud has created a sewing tutorial to help you make your very own removable cushion cover using our beautiful printed fabrics.

There’s no easier way to refresh your interior than by changing your cushion covers and we love the idea! So here’s a step-by-step sewing project for creating colorful pillowcases, perfect for brightening up your space.

Difficulty level: 3,5/5

Materials You’ll Need

To make your cushion cover with PPMC printed cotton fabric, you’ll need:

  • One cushion insert

  • PPMC cotton fabric

  • Sewing pins

  • A pair of fabric scissors

  • A sewing machine

  • A pencil or fabric marker and a ruler

What Fabric Should You Use?

We recommend PPMC printed cotton fabrics, available in our online shop. You can also use home decor fabric if you prefer something thicker.

Step-by-Step Tutorial

Step 1: How Much Fabric Do You Need?

Measure the length and width of your cushion.

Then use this formula:

  • 2 × cushion length + 10 cm = Fabric length

  • Cushion width + 2 cm = Fabric width

👉 Example: for a 45 x 45 cm cushion, you’ll need a 100 x 47 cm fabric piece.

Step 2: Sew the Hems

Make a 1 cm hem on each short side of the fabric (the length sides).
Fold the edge inward by 1 cm and sew a straight stitch.

Step 3: Mark the Folding Points

On the wrong side of the fabric, draw two guide lines:

  • The first line at: cushion length 5 cm

  • The second line at: cushion length starting from the first line

These will help you fold the fabric precisely.

Step 4: Fold the Fabric

Fold your fabric following the guides.
Overlap the shorter piece on top of the longer one.

This creates the envelope-style back opening of the cover.

Step 5: Sew the Side Seams

Sew down both sides using a zigzag stitch to reinforce the seam and prevent fraying.

Step 6: Turn the Cover Right Side Out

Turn the cushion cover right side out through the opening, carefully pushing out the corners.

Slide your cushion insert inside and you're done!

Your Cushion Cover is Ready!


Now you have a beautiful, custom cushion cover made with PPMC fabrics! What do you think of this DIY project? Let us know in the comments.

Tip:

Looking for more simple sewing ideas? Try our DIY fabric garland tutorial and why not match it to your cushions?

If you’ve made your own cushion cover, share your creation on Instagram or Facebook with the hashtag #ppmccouture and tag @papapiqueetmamancoud — we can’t wait to see what you make!