Free Pickup Point Delivery from €50
Find out what's new here
 

PPMC pour vous servir !

02 97 59 14 23

DIY Sewing Tutorial: How to Make Colorful Fabric Napkins

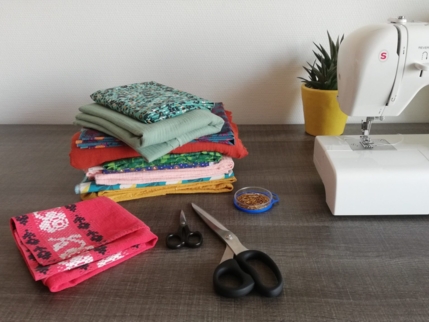
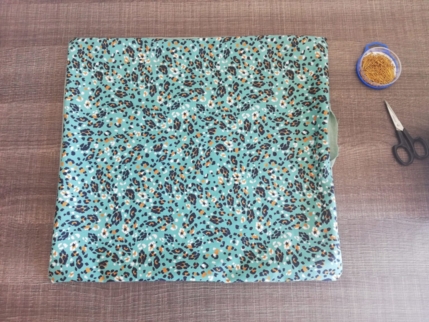
In this tutorial, we’ll sew bright and cheerful fabric napkins together. This sewing project only involves straight stitches, making it ideal for beginners and even children can join in!

With spring around the corner, you're probably dreaming of sunny picnics in the park or by the water… But for now, let’s prepare for future garden meals and summer get-togethers by making our own colorful, reusable napkins.

What You'll Need

This is a simple sewing tutorial perfect for practicing or staying creative during any quiet time at home!

  • A sewing machine
  • A pair of fabric scissors
  • Sewing pins
  • A cloth napkin you already own (to use as a pattern)
  • PPMC cotton fabric
  • PPMC double gauze fabric

Step-by-Step Napkin Tutorial

Step 1: Choose Your Fabrics

Select two fabrics you’d like to pair one cotton and one gauze for a soft, spring-like feel.

Step 2: Use Your Napkin as a Template

Place your existing napkin on the cotton fabric and pin it in place.

Step 3: Cut the Cotton Fabric

Cut around the napkin using it as a guide.

Step 4: Cut the Gauze Fabric

Repeat the same step with the gauze fabric.

Tip: Since gauze tends to shift more than cotton, use plenty of pins to hold it securely while cutting.

Step 5: Pin the Two Fabrics Together

Place the cotton and gauze pieces right sides together and pin around the edges.

Step 6: Sew the Edges

Sew all the way around the napkin, but leave a 5–10 cm opening on one side.

Pro tip: When you reach a corner, leave the needle in the fabric, lift the presser foot, rotate the fabric, then lower the foot and keep sewing. This gives you crisp, clean corners.

Step 7: Turn Right Side Out

Turn the napkin right side out through the opening. Gently push out the corners for a neat finish.

Step 8: Close the Opening

Fold the seam allowance of the opening inward and sew it closed with a straight stitch, invisible stitch, or your preferred method.

Bonus: Topstitch (Optional)

If you like, you can add a topstitch all around the napkin for extra durability and a polished look. (We skipped it in this version, but it’s up to you!)

Ready for the Table!

And voilà your homemade, colorful napkins are ready to dress up your table and impress your guests. 

Don’t forget to share your creations with us on Instagram or Facebook using the hashtag #papapiqueetmamancoud we love seeing your beautiful makes (but shhh… it’s our little secret ).

Want More Sewing Fun?

You can also check out our tutorials for a cloud-shaped cushion or a bunting garland to match your table setup!