Free Pickup Point Delivery from €50
Find out what's new here
 

PPMC at your service!

02 97 59 14 23

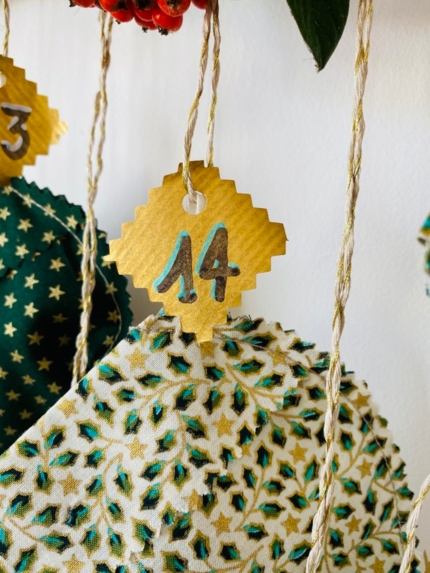
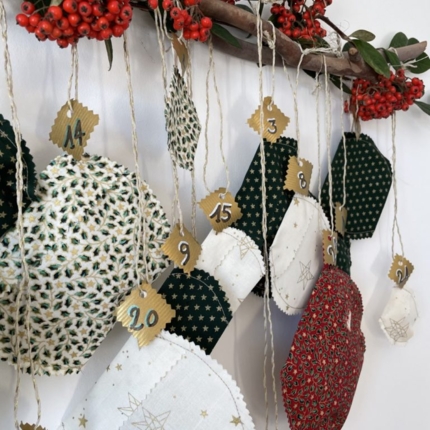
DIY Sewing Tutorial: Make Your Own Fabric Advent Calendar

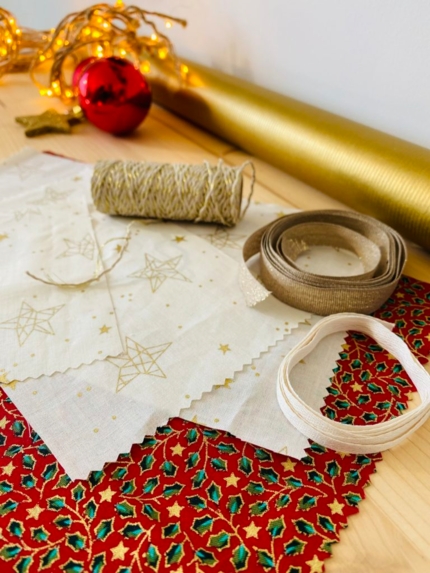
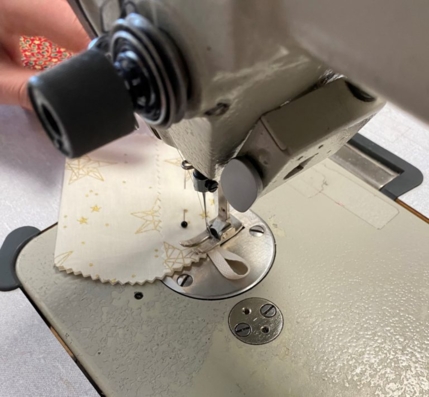
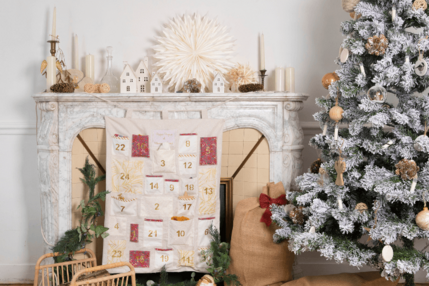
Discover this new sewing tutorial by Maguy! She shows you how to create a homemade Advent calendar using PPMC fabrics. A fun, affordable way to decorate your home for the holidays.

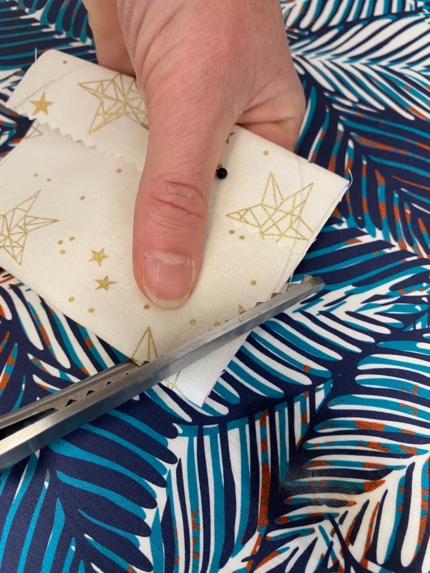
Would you like to give a small gift to your partner or children every day in December? This DIY project is accessible to all sewing levels!

How to Make a Homemade Advent Calendar?

Before you start sewing, choose several PPMC Christmas fabrics that will match your holiday decor.

Let’s dive into the step-by-step tutorial!

Materials You'll Need

  • 4 matching fabric pieces, each 50 x 140 cm
  • 15–20 mm wide gold ribbon
  • Thin ribbon or string
  • Tree branches or wooden sticks for hanging
  • 1 kraft paper sheet
  • Felt-tip pens
  • Pinking shears
  • Thin cardboard (for templates)
  • Matching thread, sewing machine (or needle and some patience!)
  • Iron and pins

Step-by-Step Instructions

Step 1: Cut the Fabric

Cut the following fabric rectangles:

  • 8 rectangles of 8 x 14 cm

  • 8 rectangles of 12 x 20 cm

  • 7 rectangles of 16 x 26 cm

  • 1 rectangle of 19 x 30 cm (for December 24th!)

Distribute the different sizes across 3 fabric prints. Keep the last fabric for the largest rectangle.

Use pinking shears to cut the short edges of each rectangle.

Step 2: Draw Circular Templates

Draw 4 round templates on thin cardboard (cereal boxes work great):

  • One with a 7 cm diameter

  • One with an 11 cm diameter

  • One with a 15 cm diameter

  • One with an 18 cm diameter

Step 3: Cut Your Ribbons

Cut 24 small pieces of thin ribbon, each 4 cm long.

Step 4: Fold the Fabric to Form Pockets

Fold each rectangle in thirds lengthwise, creating a flap:

  • 2 cm flap for the small ones

  • 3 cm for the medium

  • 4 cm for the large

  • 5 cm for the extra-large (Dec. 24)

Press the folds with an iron and pin in place.

Step 5: Round the Sides

Place the corresponding round template centered on the folded fabric. Trace rounded curves on both sides and cut along the lines with pinking shears.

Pro tip: Make sure the pinked edges of all fabric layers align neatly for a polished look.

Step 6: Sew the Pockets

Take one ribbon loop and insert it into the top right corner of each folded pocket.

Sew along the curved sides on the right side of the fabric, about 0.5 cm from the edge, securing the ribbon loop in the seam.

Step 7: Create the Paper Labels

Cut 24 small squares of kraft paper using pinking shears. Number them with markers. Punch a small hole in each label so they can be tied with the pockets.

Step 8: Build the Hanging Structure

Gather your branches or wooden sticks to form the frame. Tie them together nicely with your gold ribbon.

Step 9: Attach the Pockets

Use string or thin ribbon to hang the pockets from your frame, mixing sizes and prints for a balanced look.

Your PPMC Advent Calendar is Ready!

That’s it your Advent calendar is finished! Hang it up and admire your handmade creation.

You can also use fabric scraps to make it even more sustainable.

If you recreate this DIY, don’t forget to tag us on Instagram @papapiqueetmamancoud and use #ppmccouture we’d love to see your version!

Discover PPMC’s ready-made Advent calendars

Don’t have time to sew one? No worries! Discover our surprise Advent calendar or our customizable one you choose what suits you best.